Mine is quite ancient, 2013 machine with i7-4700HQ processor and very decent GTX 760M graphics. Ultra-slim, 1.4kg weight and Dual Thermal module for sufficient (but loud!) cooling-even in Taipei heats it holds the machine cool. In difference to similar MAC machines, it has a decent number of USB and external monitor/projector slots, and also features ethernet slot.
The only minuses I found with this machine are loud cooling fans, and risky screen hinges.
Loud fans I got used to, but hinges... destroyed it. The first sign of trouble was this:

One side of the screen just went wrong. Very wrong. First there were coloured stripes, and then just nothing. Matrix entered my life.
It was really a bad idea to put 14'' screen on two poor thin metal connections supporting the thin plastic part-yes, those two small squares at the bottom left and right, with two small holes, are the main construction elements of the screen connection to the lid!:

I really do not know what the RD was thinking when doing it. It had to break at any time, especially if one would handle it a bit harsher. With mine, it broke after 5 years, so it was not so bad. But then, I was really careful opening/closing the lid. Also, I was not using the machine every day, as I had a decent workhorse desktop at work.
Since otherwise I was very happy with this machine, I decided to extend its life as a laptop, not use it only in the desktop mode with the monitor.
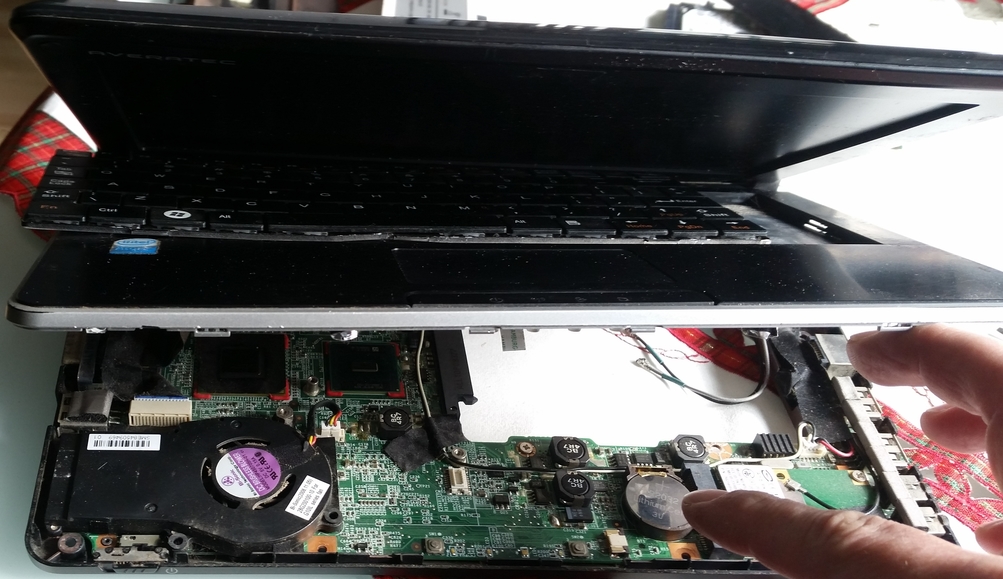
I detached the plastic cover-be careful with wires, not to break any when un-sticking the front cover (use e.g. old credit card to get below it-and got to the screen itself.

I tried to press the plastic bar with electronics in the powering of the screen to see if the problem is there-yes, something inside got broken obviously. At this point the only what remains is to find exactly the same screen. Information found online told me that this sticker on the screen has all needed to buy the new one:

Just in case, when ordering, make certain to mention to the seller the number of pins on the main connector (30 or 40, mine was 30). The new screen, found online from a private provider, costed of the order of 100USD-not so bad, when the new machine would cost above 1000 USD. I think it pays off to make a repair if the cost is of the order of 20% of the price of the new one. Sure, the professional latop repair thought different, and they would not improvise, so I had to do it myself.
Next task is to find a way to attach the new screen so that it would not be so poorly attached as the original one. The original frame was a bad idea even when new. Now, broken in pieces, it needed serious refurbishing. I did not want to waste time on obtaining the complete new lid or parts, because I found the original construction seriously botched.
My son is a magician of making and repairing things, so he helped: a robust aluminium frame, 2 screws through the each corner of the original metal cover of the latop. Luckily, hinges were strong, so he could put screws through them. Now the LCD was just inserted into such prepared frame, and fixed into its original position with the original screws, but not working as a construction element any more.
He also made the frame little extended towards the keyboard at the front, so my keyboard does not remain imprinted on the screen when I close the lid (this was another annoying thing, but not unusual for extra-slims, and I was preventing it inserting a piece of material always when closing a lid).

Now this initially gently looking ultra-slim became a heavy-metal looking laptop:

It weights maybe 20 gr more, because of the additional frame and a bit of plastic, but I think it was worth doing. One should respect electronics, and not dispose of it just because of the mechanical failure of the badly constructed box. ps.28.11.2020: the left corner near the screen hinge broke, again, bad plastic. I could not close the lid without supporting it carefully, and had to temporarily install U-shaped metal brace that it would not go apart. Gigabyte, invest in better plastic and more robust construction, your R&D really failed here. So, laptop had to go again into the son's hands. To fill in the gap after broken screw holder he put some plastic and two new screws: